Unraveling onX: creating directional waypoints and arrows
written by Fred Ginsburg
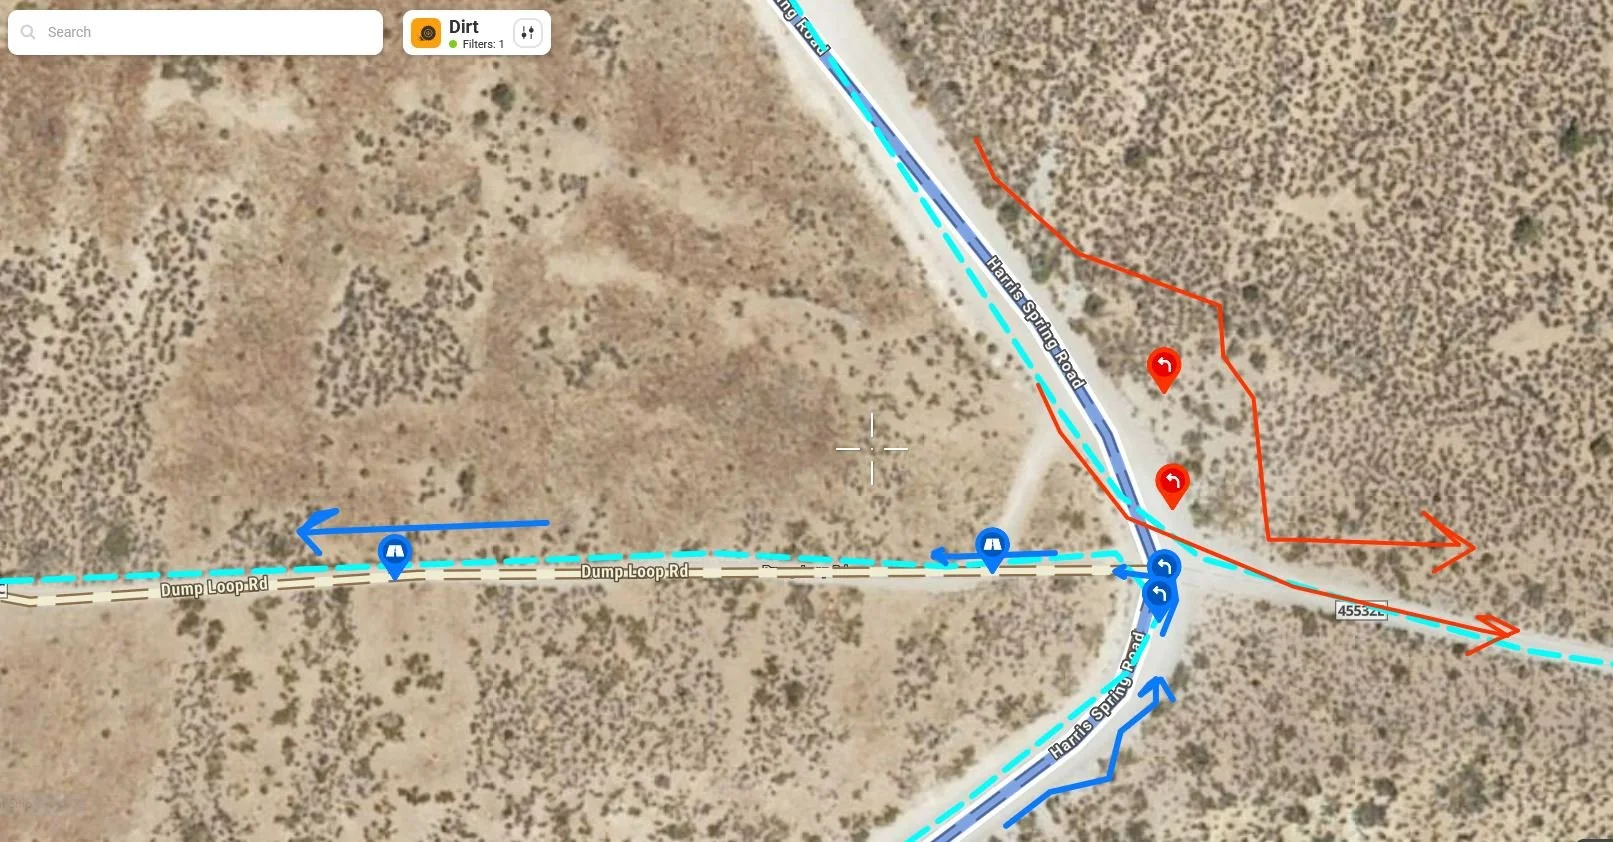
The first leg of the trail follows the RED turn indicators and general arrows. The final leg of the trail, coming from the opposite direction, would be following the BLUE indicators.
Here are tips for creating directional waypoints and arrows in onX in order to avoid confusion for those situations when long trails criss-cross itself.
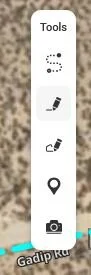
Use the Tools to create Waypoints or to hand draw arrows.
One of the major shortcomings in the onX Offroad software is that newly recorded tracks (aka trails) lack any symbols for direction. On most trails, this is not an issue. But every now and then, we run complex trails with side spurs or turns that seem to overlap and intersect itself, and appear on the map like a ball of yarn! Without any sort of directional guides, one doesn’t know what direction to continue, since the onX lines might show up as a 3-way or even 4-way intersection. Simple LEFT and RIGHT waypoints can be ambiguous, depending on what direction you were heading and which way the screen map re-orients based on vehicle direction.
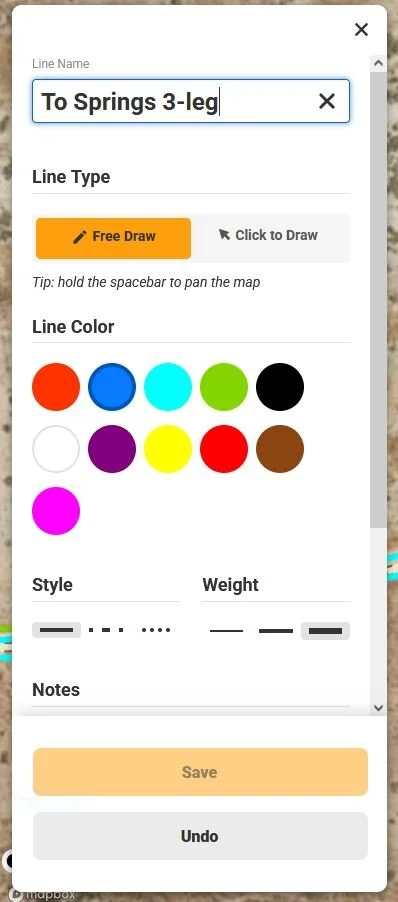
To draw lines or arrows, select a COLOR, style, weight. Then click on FREE DRAW.
If you are driving in a very small group, the Leader could stop completely and fidget around on the screen to decipher which way to go – but there are better solutions to solve this software shortcoming.
Create a color code system for yourself. Coming from a photographic/cinema background, the acronym “R-G-B” is ingrained into my head. Red, Green, Blue… the primary colors. But you could use any color sequence that is easy for you to remember.
When I use the waypoint tool to drop an icon along a trail, I use the edit button to select a color based on what leg of the journey it is. For example, the first section of the trail only uses RED colored LEFT/RIGHT/etc. icons. That way, I know to follow those directions initially, and to ignore any icons of different colors.
Perhaps midway through the trail, we loop around or U-turn to head back the opposite direction for a bit, and then break off onto another spur. All of the icons providing route turns as we approach from this reversed direction would now be colored GREEN.
After crossing over our original main trail, maybe we keep heading in the other direction. Still GREEN. When we loop or U-turn again, it would be time to use BLUE icons to mark the final leg of our trip.
Depending on the complexity of your route, you could deploy other colors beyond RGB, just make sure that you create a written note so that you remember the sequence order.
In addition to using color coded waypoints along the track, I find it very useful as a Trail Leader to add thick, hand scribbled lines/arrows to help guide me.
To create these hand-drawn lines with squiggly arrowheads, you can use the freehand drawing tool. Normally this tool is used to trace tracks along natural pathways, but there is no law that says you cannot write or draw anything you want, anywhere on the map. Follow your color code legend to emphasize which direction to follow during which leg of the trail.
One of these days, the onX engineers will give us little arrows instead of androgynous red dots or solid lines to indicate direction, but until then – just be creative with the tools at your disposal.
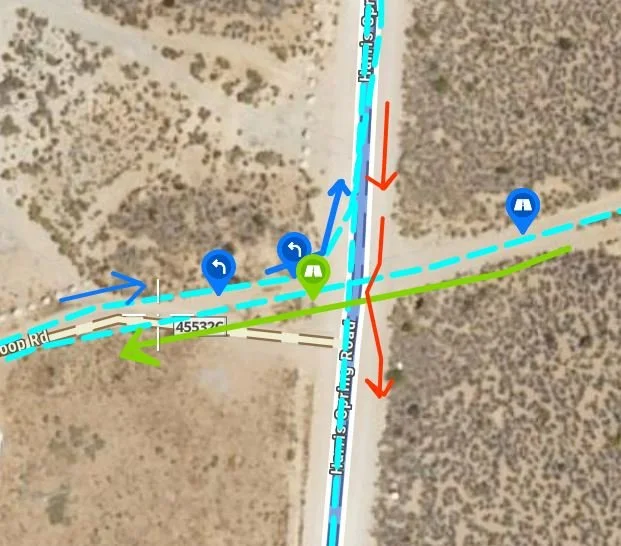
In this example, the RED was our first leg, and the GREEN icons and arrow indicate the second leg of this trail that eventually crosses over our original track. After it loops around, I created BLUE directional markers to indicate the final leg of the trail, heading back to our original trailhead air-down/up.